Current Order Processing Time : 1-3 Business Days (excl. delivery) | Worldwide Shipping from Australia | Your one-stop shop for premium silicone beads & craft supplies ♥
Current Order Processing Time : 1-3 Business Days (excl. delivery) | Worldwide Shipping from Australia | Your one-stop shop for premium silicone beads & craft supplies ♥
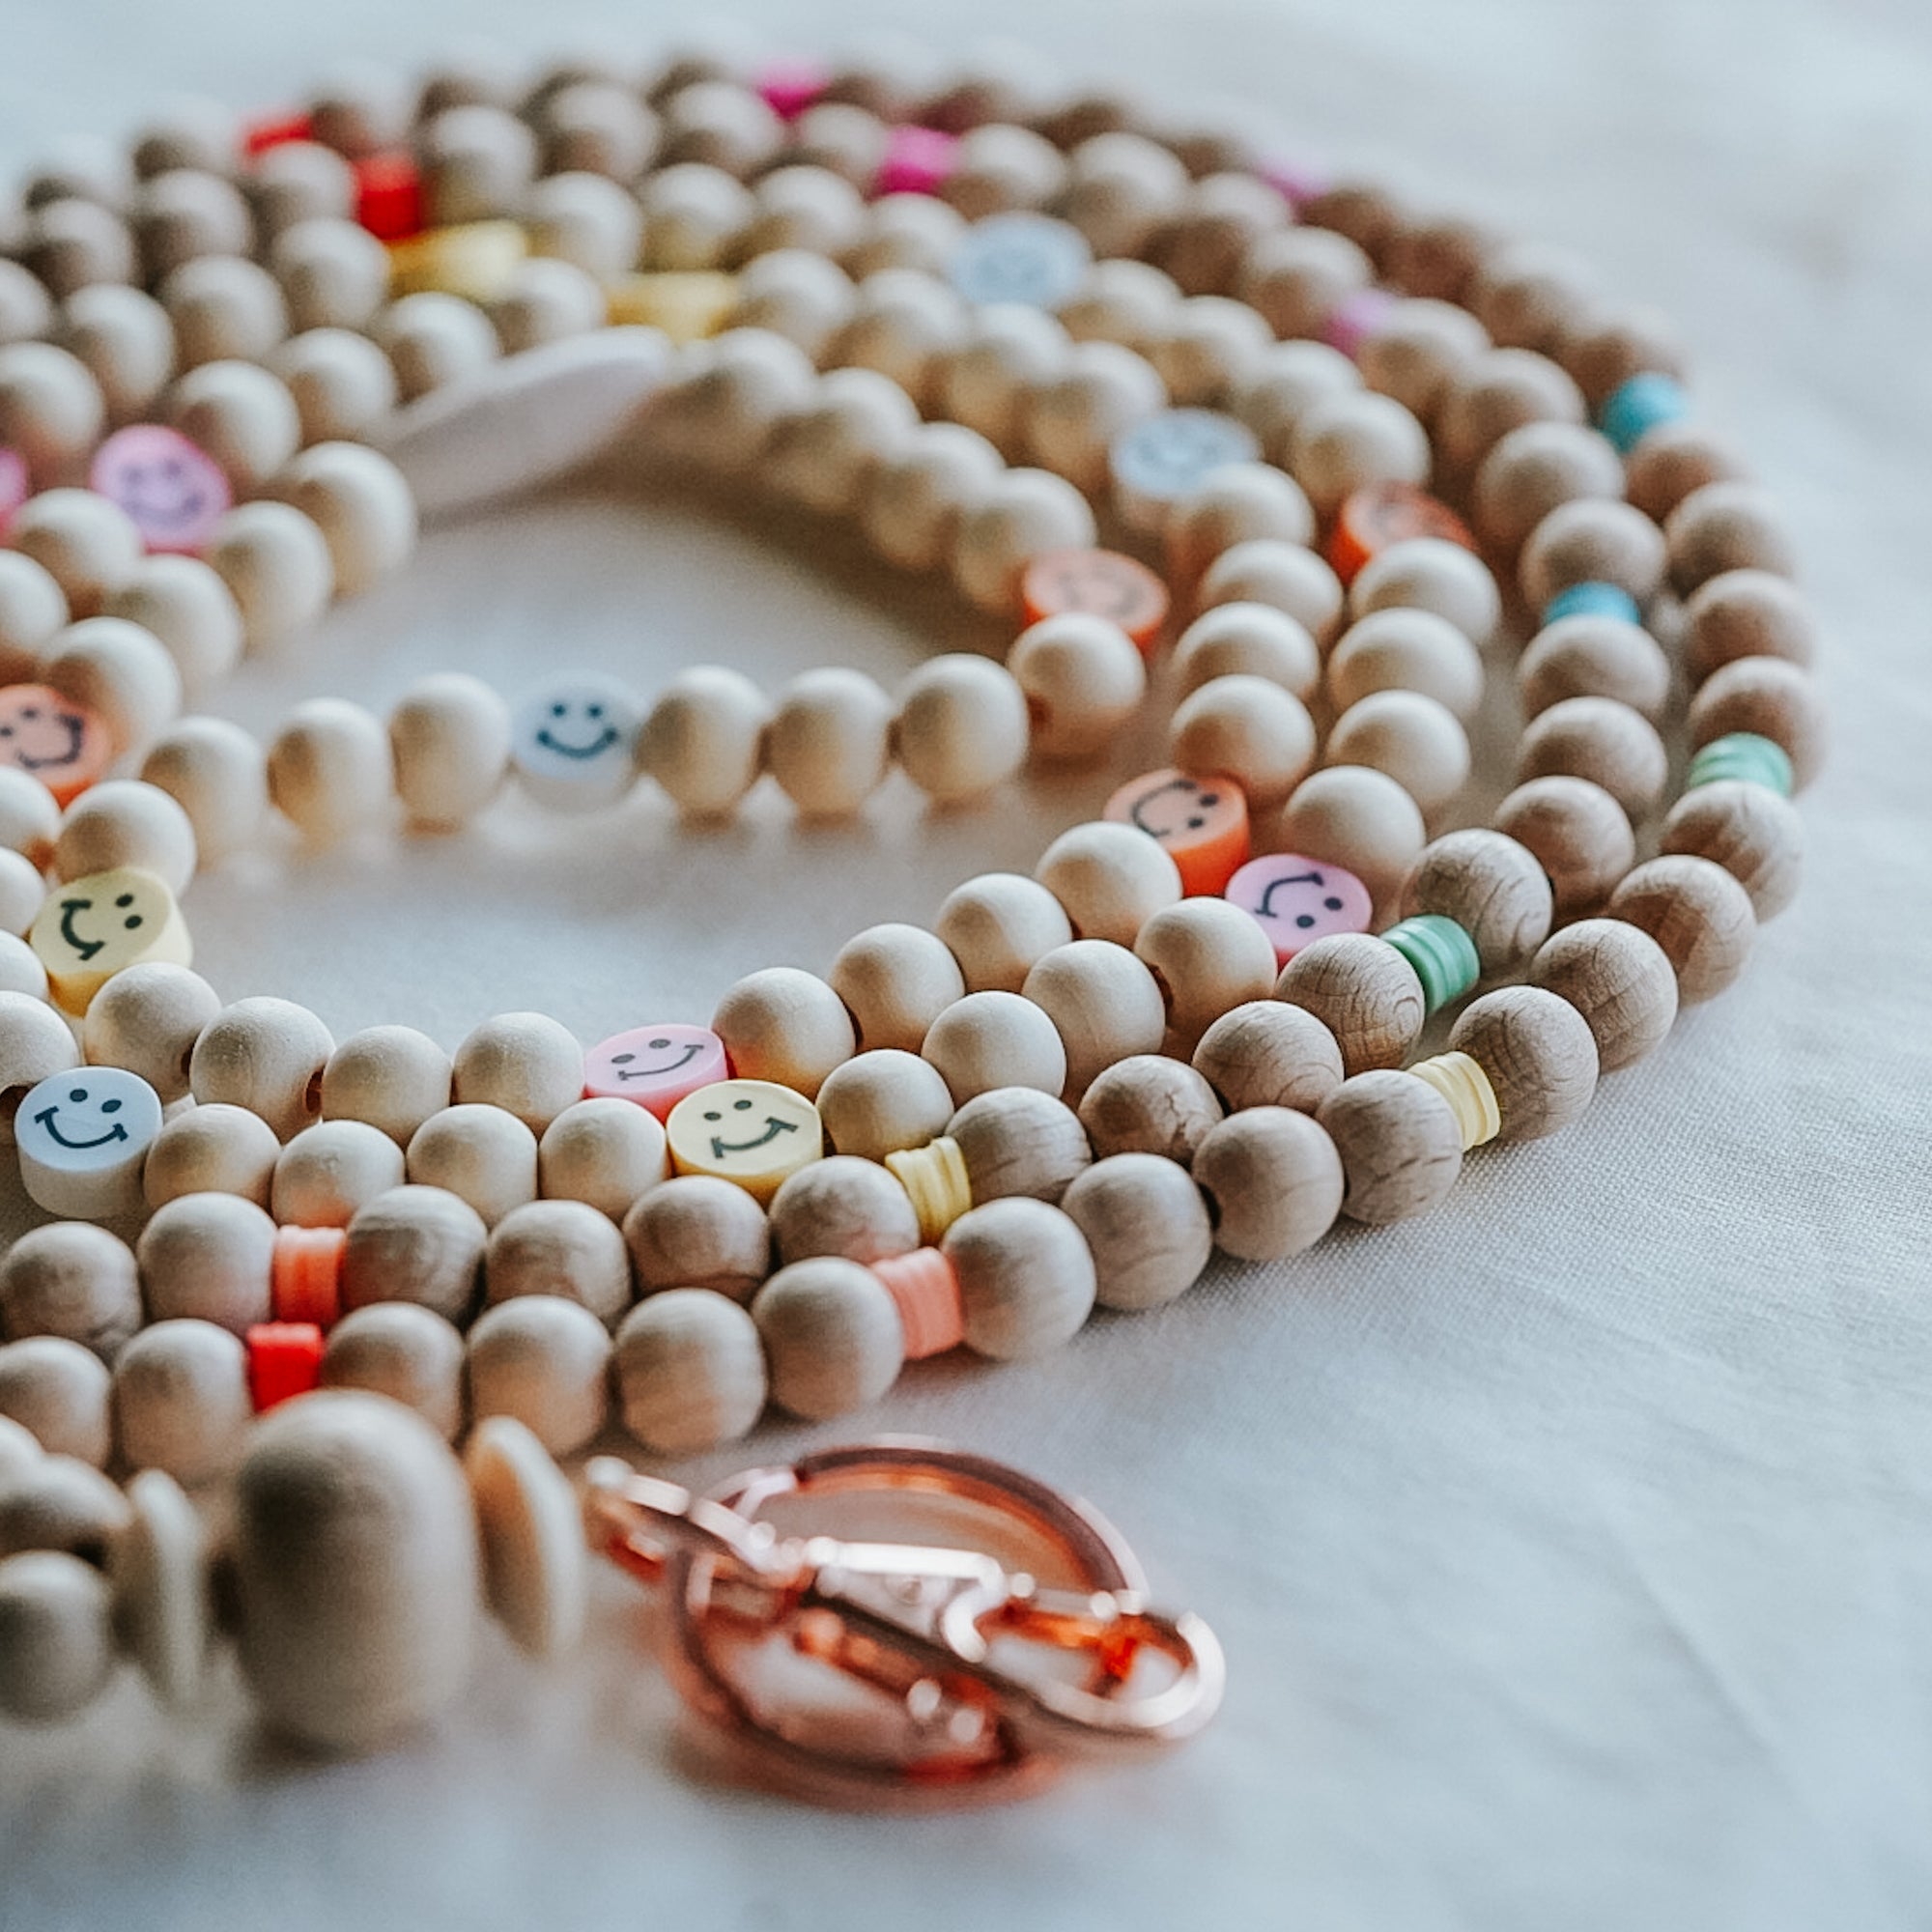
DIY beaded chain lanyards are a fun alternative to fabric lanyards or bottom beaded lanyards, and offers you full flexibility in terms of colours and styles. Whether or not you decide to use wooden beads or clay beads, or a mix of both as we have done in this tutorial, the options are endless and you are only limited by your imagination! Stay tuned until the very end for some important advice on cord choices. At the end of this tutorial, you would have made a beaded chain lanyard measuring 58cm from top (breakaway clasp) to bottom (end of swivel lobster clasp).
To watch the video version of this tutorial, click here
1. Cut a 130cm length of cord, fold it in half and loop it through the bottom part of the the 40mm swivel lobster clasp.
2. Taking both ends of the cord, thread the 15mm saucer bead, 30mm large daisy bead and the other 15mm saucer bead (in this order).
TIP : you may pick any feature/focal bead that resonates with you to replace the large daisy bead
If you’re after meaningful focal beads, choose from our range of engraved beech beads If you’re after something colourful and fun, take your pick from our range of silicone focal/feature beads Otherwise, our daisy beads are always a fail-proof winner ;)
3. Separate the 2 cords and start working on 1 first. To finish this step in half the time needed, make use of your large eye crafting needle.
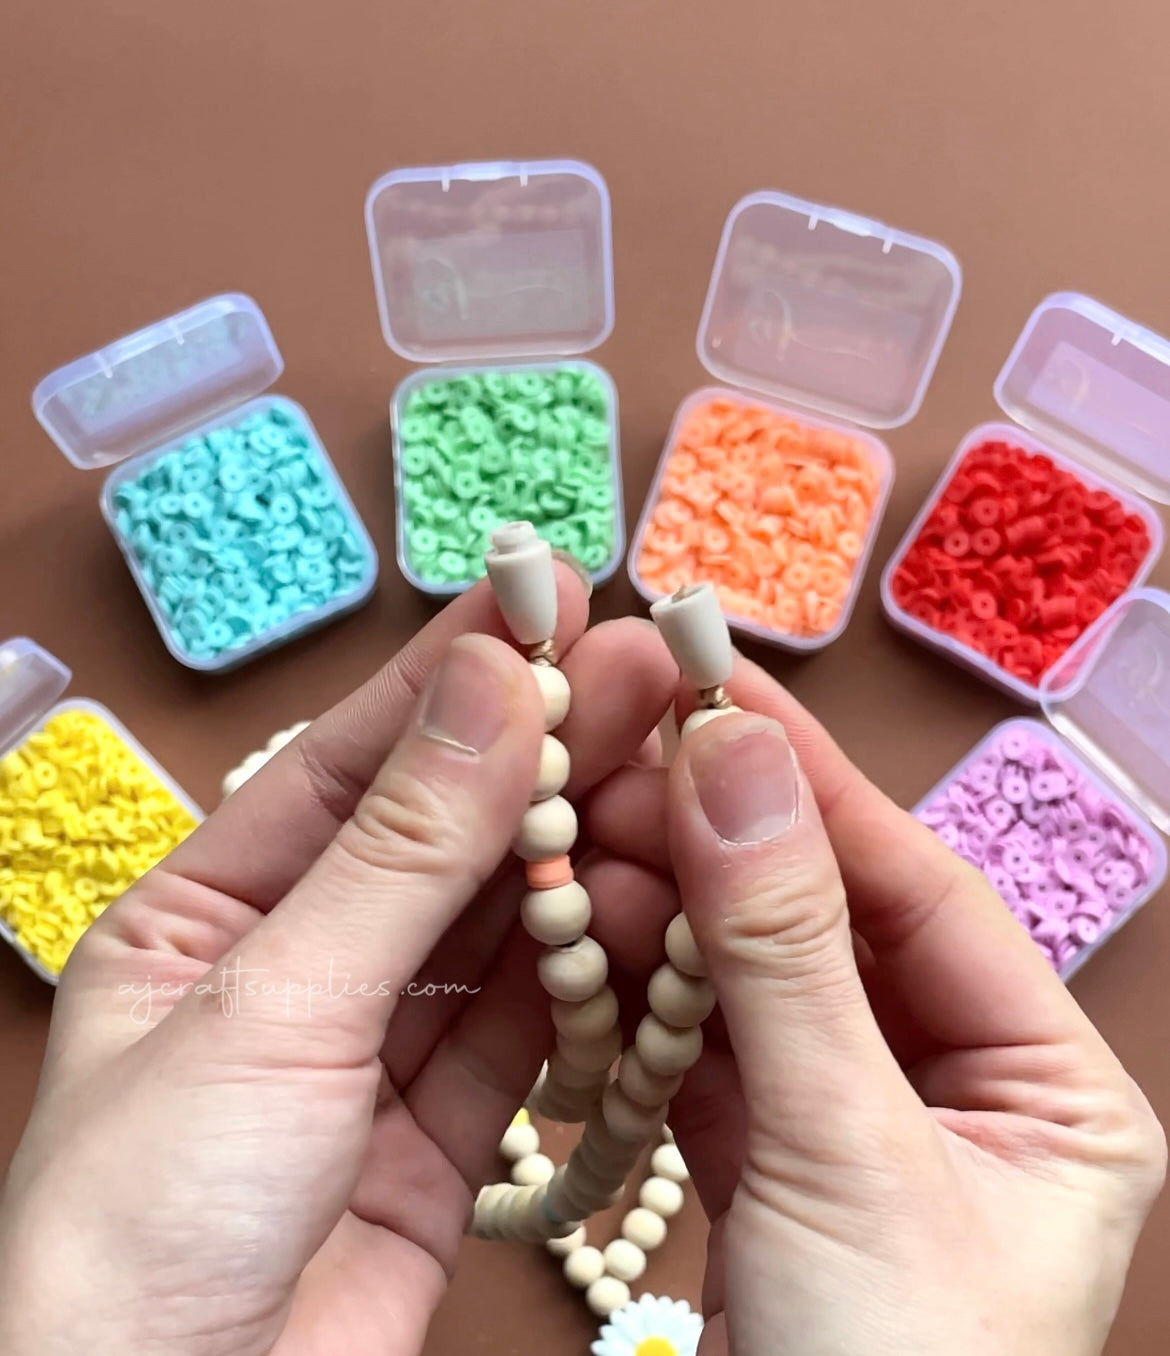
4. Thread 5x 10mm wooden beads and 4x 6mm clay spacer beads onto the cord. Let’s call this combination of beads, 1 “set”.
5. Repeat step 4, for another 8 “sets” of wooden beads & clay spacers combo.
6. After threading the 8th set, add 3 more 10mm wooden beads to finish
7. Tie a looped knot as close to the last wooden beads as you can.
8. Tie another looped knot over the first, this is to prevent the wooden bead from slipping through.
9. Tie a third looped knot along the same cord, leaving about a 0.5mm (tiny!) space between this knot and the double knots. For this third knot, make sure that you don’t pull it too tight. Just make sure it is firm (i.e. won’t come apart easily).
10. Take one half of the breakaway clasp and thread it through (from back to front of clasp) the cord, making sure to pull it past that third knot such that the knot “pops” through the hole in the clasp.
11. Taking your pair of sharp scissors, snip off the cord as close to the opening of the clasp as possible. At this stage, you want to show as little of the cord as possible through the clasp.
This next step is IMPORTANT to securing the knot and cord within the clasp end.
12. Grab your E6000 glue, insert the precision tip into the special cap it comes with.
13. Insert the precision tip as far in as you can into the breakaway clasps, and squeeze a drop or 2 of glue.
14. While the glue is still fluid, take your toothpick and push the frayed end of the cord into the clasp to try and hide as much of it as you can. At the same time you want to make sure there is enough glue where the third knot is, to secure it into place.
15. Set this cord down and pick up the other cord.
16. Thread a total of 9 “sets” of wooden and clay combination beads to match the first cord, adding the last 3 wooden beads at the very end.
17. Tie 2 knots again to secure the beads in place and a third ‘looser’ knot about 0.5mm away along the same cord
18. Taking the other half of the breakaway clasp, thread it through the cord and “pop” the third knot through the hole on the clasp end.
19. Repeat the same steps with the E6000 glue as you did for the first cord (steps 12-14)
20. Set the lanyard down in a cool, dry open space and let the glue set/cure overnight (for at least 24 hours)
The next day, you’ll have a wearable beaded chain lanyard with secured ends!
TIPS, TRICKS + ADVICE
1. The E6000 precision tips can be re-used. Simply cleaned out any uncured glue residue with a wooden or metal skewer. If the glue is cured, the only way to get it out would be carefully drilling it out.
2. Some use elastic cord to make their lanyards. I would not recommend this for 2 reasons - one, because the weight of the beads pulls down on the lanyard and gives it an overall "flimsy" look and feel, and two, because elasticity in the cord wears out with time (the more often the lanyard is worn/used, the quicker this elasticity is lost) and you end up with beads loosely sliding up and down the length of the cord, which is not a good look!
We hope this tutorial was useful in helping you plan out your next beaded chain lanyard project. Let us know in the comments below if you have any feedback/suggestions or questions. We would love to hear from you. Let your creativity run wild, the possibilities are endless.
To watch the video version of this tutorial, click here
4 Responses
Melissa
August 14, 2024
Do you have a video showing how to get the breakaway clasp right up next to the beads on a lanyard?
Karen
July 10, 2024
THANK YOU SO MUCH FOR SHARING THIS! I love that it is such a clear step by step guide. So easy to follow!
Lisa
June 26, 2024
Hi
I’m new to the bead industry. I notice you have diy’s for the lanyards and pens. Would you happen to have any for keychains and bag tags?
I’ve got some designs picked out by don’t know where to start and I want to start getting into it
Thanks
Lisa
Lisa Lillie
June 26, 2024
Thank you so much for this clear and explanatory tutorial! It was a breeze to follow :)
Leave a comment
Comments will be approved before showing up.
Subscribe
Sign up to get the latest on sales, new releases and more …


Melissa
August 14, 2024
Do you have a video showing how to get the breakaway clasp right up next to the beads on a lanyard?